")
Hanging wall art may seem simple, but getting it just right can make a huge difference in your space. Whether you’re showcasing a stunning pet portrait, a gallery wall, or a single statement piece, follow these pro tips to achieve a balanced, polished look.
1. Choose the Right Height
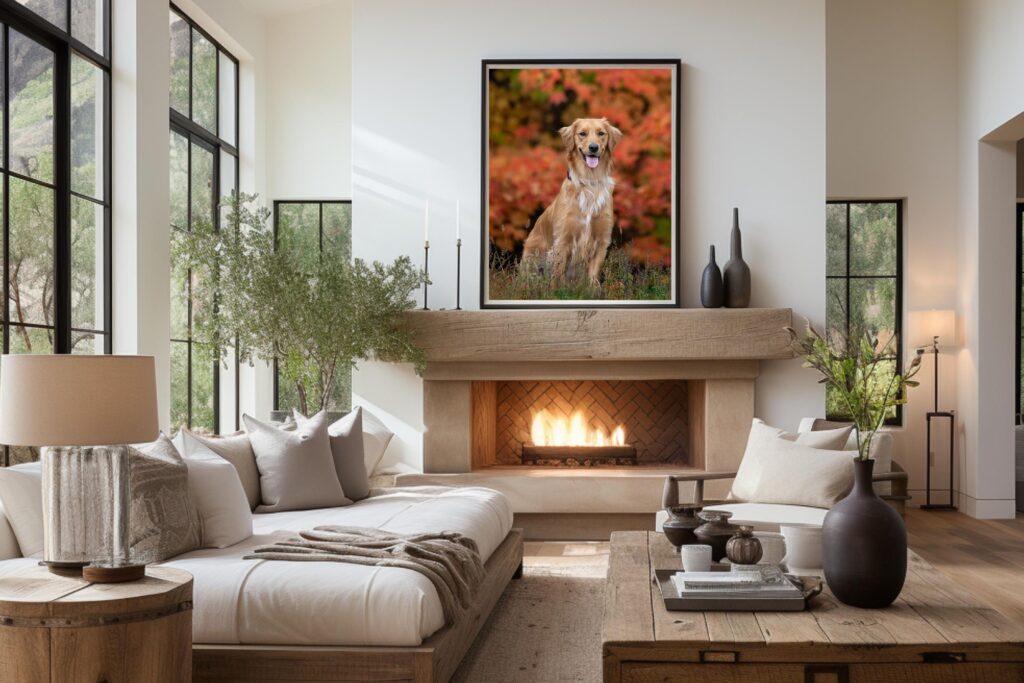
The biggest mistake people make? Hanging artwork too high! The center of your artwork should be 57–60 inches from the floor, which is roughly eye level. If you’re hanging art above furniture, keep it 6–12 inches above the piece for a cohesive look.

2. Consider the Space
Think about where your artwork will be viewed from. A large wall can handle a bold statement piece or a gallery collection, while smaller spaces may benefit from a single framed print. If you have high ceilings, consider vertically stacked artwork to fill the space beautifully.
3. Get the Right Tools
Having the right tools will make hanging your artwork much easier. Here’s what you’ll need:
✅ A tape measure
✅ A level (to keep things straight!)
✅ Picture hanging hooks or wall anchors
✅ Painter’s tape (for marking placements)
✅ A hammer or drill

4. Plan Your Layout Before You Hang
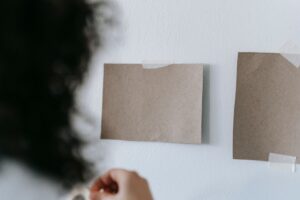
For a single piece: Hold it up or tape paper cut to its size on the wall to visualize placement.
For a gallery wall: Lay everything on the floor first to arrange the perfect composition before committing to nails.
5. Use the Right Hanging Method
- D-rings & picture wire: Best for larger, heavier artwork.
- Sawtooth hangers: Great for lightweight pieces.
6. Double-Check Alignment
Once your art is up, step back and make sure everything looks balanced. Use a level to ensure it’s straight—nothing is worse than a crooked masterpiece!
7. Enjoy Your Artwork!
Now that your wall art is perfectly placed, step back and admire your work. Whether it’s a statement pet portrait or a collection of memories, your space is now filled with personality and warmth.

")
")
")
